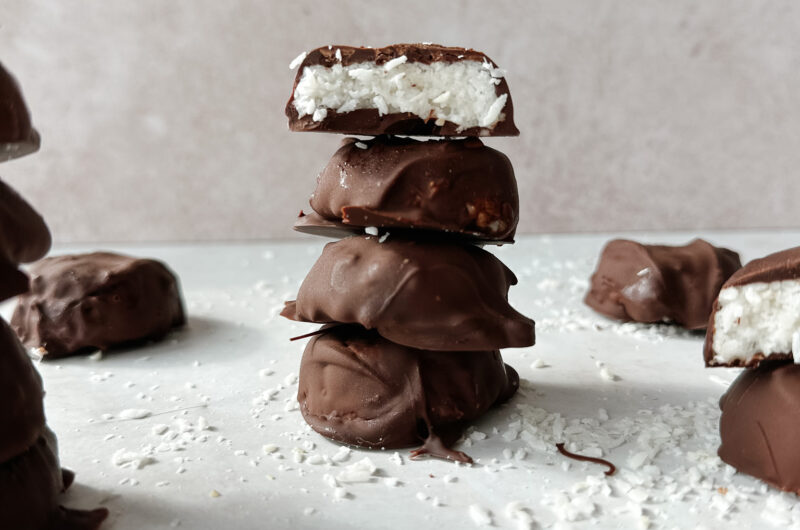
These coconut chocolate mini bars are a delightful, no-refined sugar, gluten free treat that combines the rich flavours of coconut and dairy-free chocolate.
With a creamy coconut base, naturally sweetened with honey and maple syrup, and enhanced with a hint of vanilla. A smooth top layer of dairy-free chocolate perfectly complement the coconut, creating a blend of textures and flavours.
This recipe is part of my Feel Good Treats Summer series, where we’re all about enjoying your favorite treats but making them healthier so you feel really freaking good! All the treats are damn delicious and also happen to be gluten-free, dairy-free, refined sugar-free, anti-inflammatory, and mostly vegan.
I started developing these feel-good treats after being diagnosed with Lyme disease. Check out the story and video here!
Watch the how-to video for this recipe on Instagram and TikTok.
Coconut Dream Mini-Bars
Course: Vegan, Gluten Free, No Refined Sugar, Dairy Free, Raw16
servings! Freezing + overnight alert !
Ingredients
2 cups shredded coconut
160ml (5 ½ fl oz / one small can) coconut cream
½ cup coconut oil, melted
2 Tablespoons raw honey (or sub maple syrup)
2 Tablespoons maple syrup
1 teaspoon of vanilla bean paste or vanilla extract
Pinch of salt (about 1/2 tsp), to taste
2 cups dairy free chocolate chips
Directions
- Use small silicone molds (like this)
- In a bowl add shredded coconut, coconut cream, melted coconut oil, warmed honey, maple syrup, vanilla, and salt and mix until well combined.
- Pour filling into each mold (about a tablespoon) and press the mixture down very firmly until well packed and level.
- Pop the mold into the freezer to set completely. Freezing for 2+ hours or overnight. This will ensure that they don’t fall apart when coating them with chocolate.
- Once your filling is frozen, melt your chocolate.
- Take the chilled filling out of the freezer and pop them one by one out of the mold.
- Moving quickly use a fork to dip one coconut bar at a time into the melted chocolate. Use two forks to gently “flip” the bar, until it is coated in chocolate on all sides.
- Gently shake off any excess chocolate and place them on a parchment lined tray. Repeat with remaining bars.
- Once you’ve coated all the pieces, pop them in the fridge or freezer to set. Enjoy!
If you’re new to chocolate work, you may consider keeping half the bars in the freezer while you coat the other half – to ensure they stay firm.

Comments +